This simple paint hack is the perfect budget-friendly DIY upcycle for your collection of glass vases and jars. It’s so easy, you’ll be amazed at the results! All it takes is a mixture of baking powder with acrylic paint to turn boring glass vases into custom faux pottery.
I love the natural warmth pottery and ceramics bring to home decor, but I don’t love the price tag when buying them brand new from the big stores these days. After seeing this hack pop up all over, I knew I had to give it a go. It’s such a fun, relaxing project, and the results are amazing. An instant mood lifter, this DIY is so easy, anyone can do it!
This guide will take you through the step-by-step process to create a textured effect that mimics a natural terracotta pot-like finish.
Please note that after painting, these vessels will be best suited for dried, paper or fake foliage rather than fresh cut stems in water.
Step-by-Step Guide to Upcycle Glass into Faux Pottery
For a quick overview, here are the 7 steps to create your faux pottery.
- Gather the materials: glass vase(s), matte acrylic paint, baking powder, paintbrushes
- Prep the glass vase by cleaning thoroughly inside and out
- Mix the acrylic paint with baking powder
- Apply the faux pottery paint mixture to the glass vase
- Build texture with additional layers of paint
- Seal and protect with matte clear sealant (optional)
- Display on a bookshelf or table and style with dried or faux flowers
To learn more about each step and see images of the process, keep reading!
Materials for DIY Faux Pottery:
- glass vase
- matte acrylic paint
- baking powder
- paintbrushes (various sizes)
- foam or sponge brushes (optional for grittier effect)
- disposable plate or cup for mixing
- water and jar for rinsing brushes
- sealant (optional, I didn’t end up using anything)
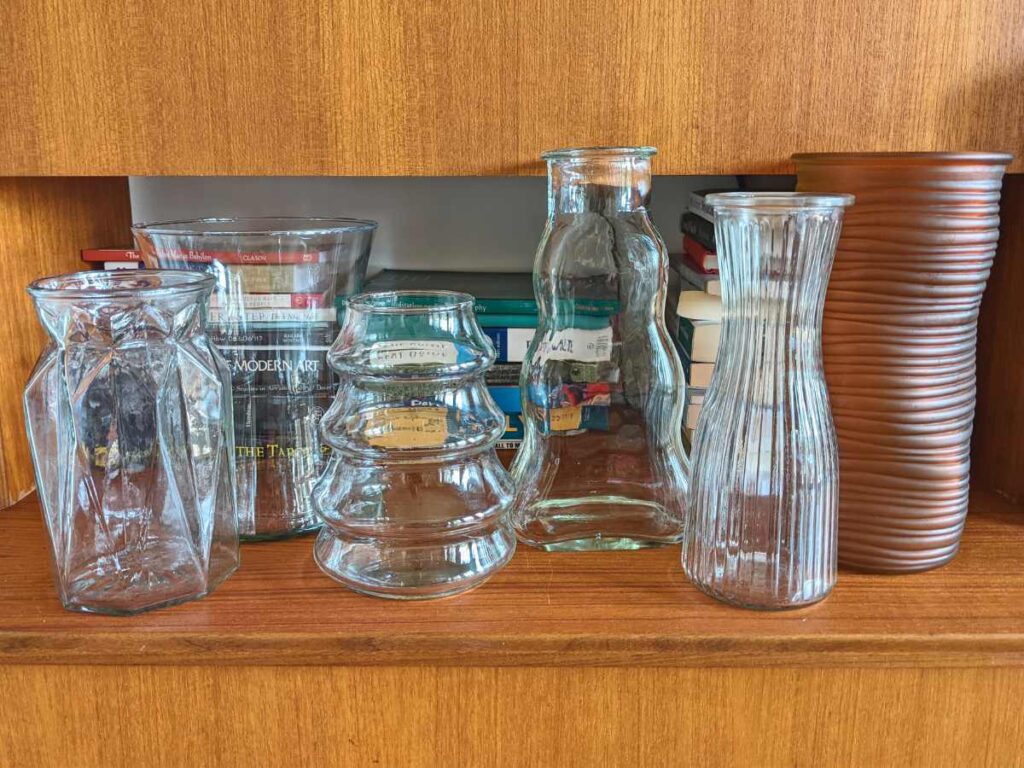
Step 1: Gather the Materials
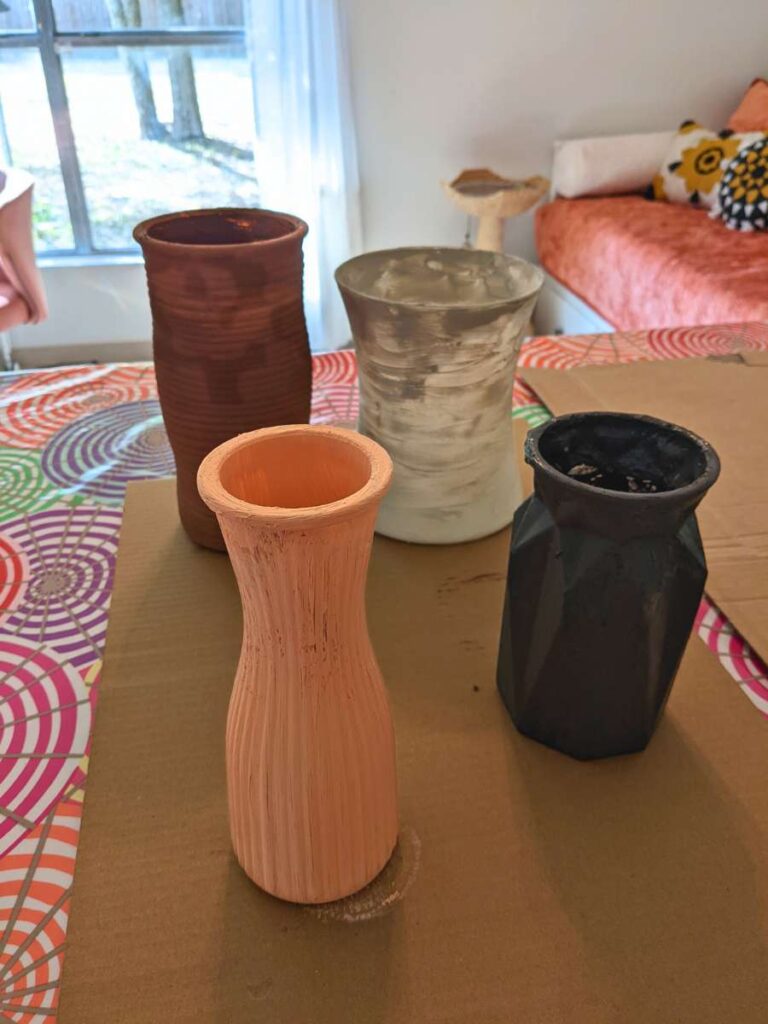
I went to my local thrift store in search of one or two glass vases for this project and walked out with six! I looked for vases with fun shapes that would mimic classic pottery in a variety of heights and widths. To keep this project even lower-cost, shop your own house for vases, jars, or unique shaped glassware that could use a fresh look.
Step 2: Prep the Glass Vase
Clean both the inside and outside glass thoroughly. This ensures your paint will properly adhere to the surface. I recommend cleaning the inside now since you won’t be able to rinse the glass with water after painting. A quick wipe with rubbing alcohol will remove any lingering residue.
Step 3: Mix the Acrylic Paint with Baking Powder
Mix a small amount of the acrylic paint with about a teaspoon of baking powder. Start with less baking powder and add more if you desire a more textured pottery paint effect. The paint will bubble up and grow a bit in volume while you mix. This is just the chemical reaction of the acid in the baking powder reacting with the water in the paint to create carbon dioxide. Stir thoroughly until it is well mixed into a smooth, foamy texture.
It will require several coats of the paint mixture to ensure solid coverage, so you can build up more texture in additional layers.
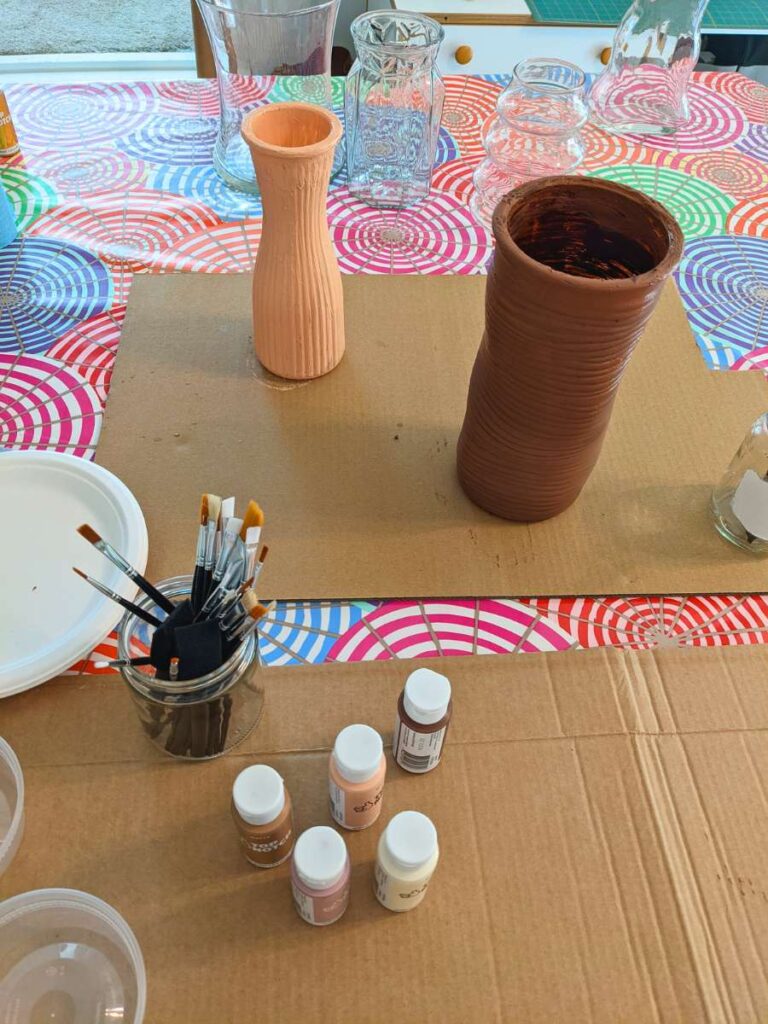
Step 4: Apply the Faux Pottery Paint Mixture to the Glass Vase
Using a paintbrush for the first layer, apply the acrylic paint and baking powder mixture to the glass jar with thin, even strokes. Once the paint is applied, it must dry completely before going back over the area or it will pull away from the glass.
If the glass has vertical or horizontal ridges, follow the direction of those lines with your brushstrokes to create a more authentic pottery effect. While horizontal strokes are more realistic for hand-thrown pottery, I think my vertically oriented pieces turned out just as good.
Don’t forget to paint the bottom and top edges, covering the top 1-3″ inches of the inside surface as well. I found it easiest to flip the vessel upside down and start at the bottom to work towards the top of the vase.
Let the first coat dry completely before adding additional layers. It’s okay if there is still some glass visible after the first coat, you can easily cover this with more layers.
Step 5: Build Texture with Additional Layers
To create a more realistic ceramic texture with total coverage, apply additional layers to build depth and dimension as needed. I applied at least 2-3 coats of terracotta paint to achieve the look I wanted.
Try changing up your brush strokes and experiment with different techniques to create a variety of textures. Dabbing a foam or sponge brush across the surface will create a grittier, stone-like surface.
On the white hurricane vase, I applied the first two layers with a brush to ensure opacity before applying the third layer with the foam brush for the final texture.
Allow the paint to dry completely between each coat for a few hours or overnight.

Step 6: Seal and Protect
This step is optional. To protect your fresh paint job, spray a clear sealant over the entire surface and let dry before touching.
I did not apply a sealant in case I wanted to add another layer or try a splatter effect with a toothbrush. Though I have not moved them around much, nearly a year later and my vases have held up really well. If yours will be handled more frequently or placed near any object that could scratch the surface, I recommend you apply a sealant.
To keep the natural clay feel, opt for a matte or flat finish. A semi-gloss or gloss could mimic a glazed look. You can truly create any finish you are going for!
Step 7: Display and Style
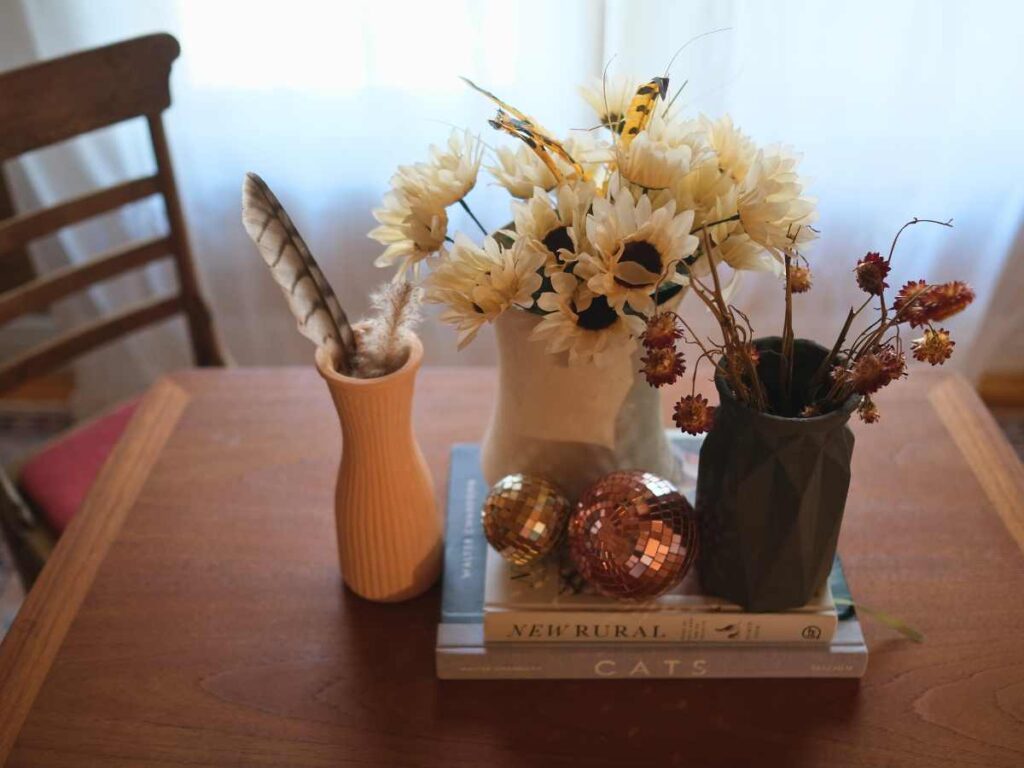
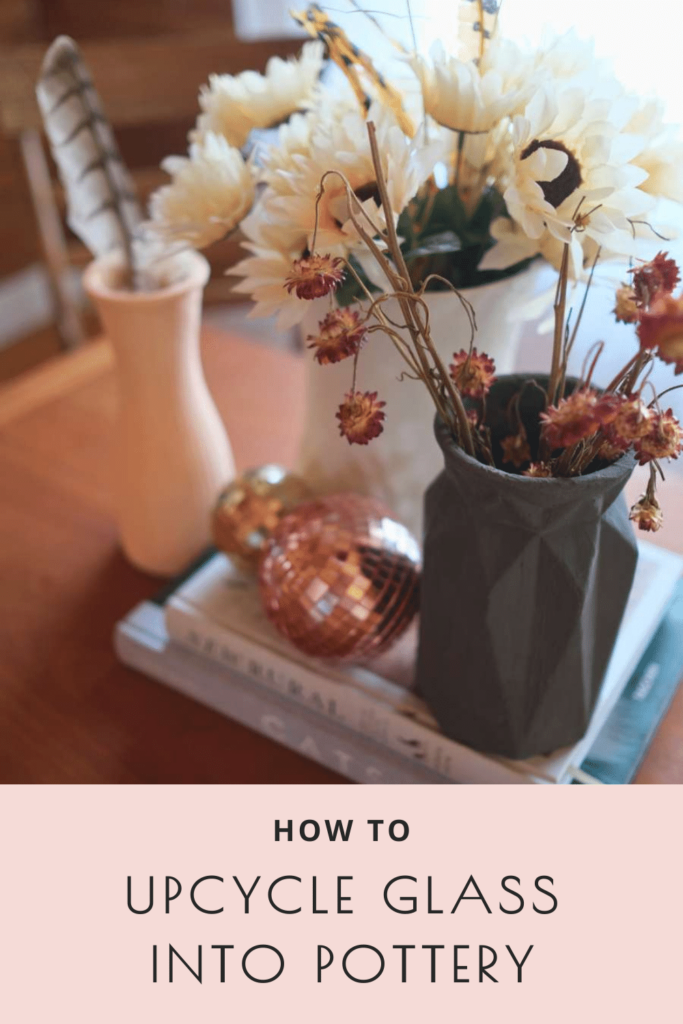
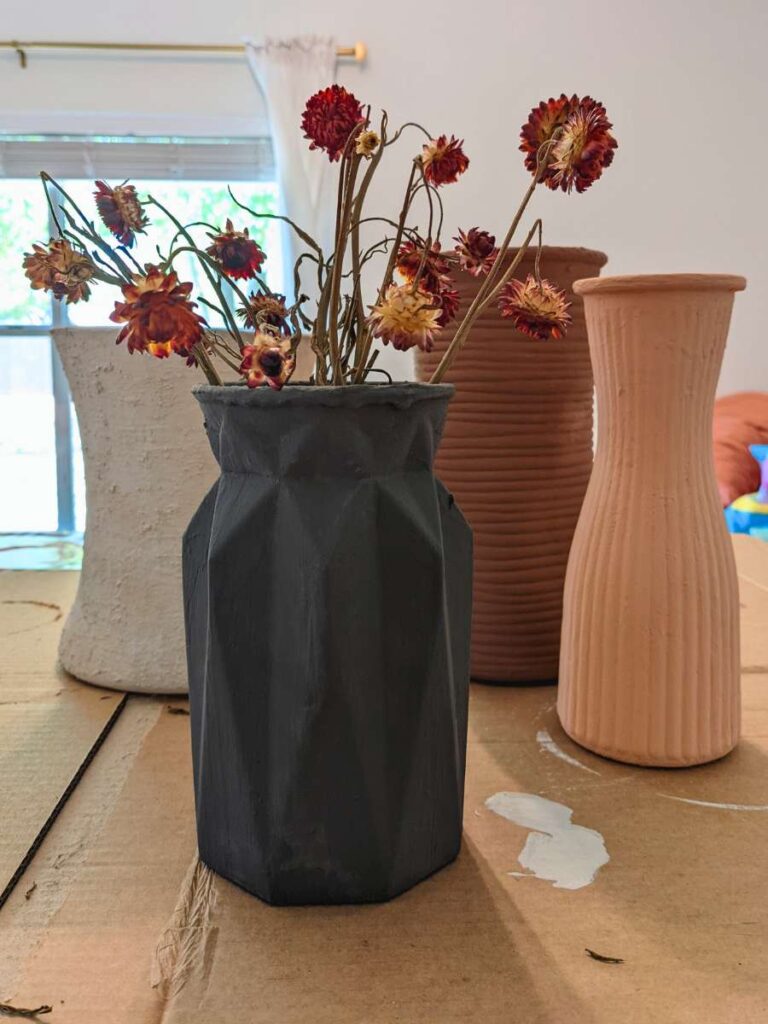
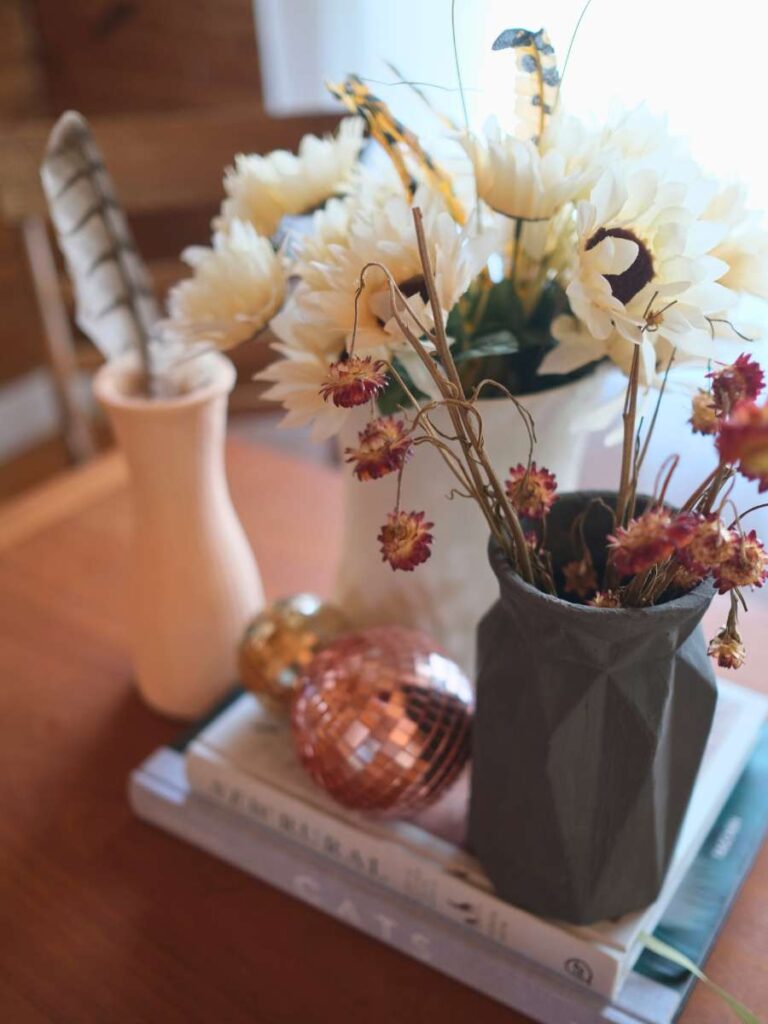
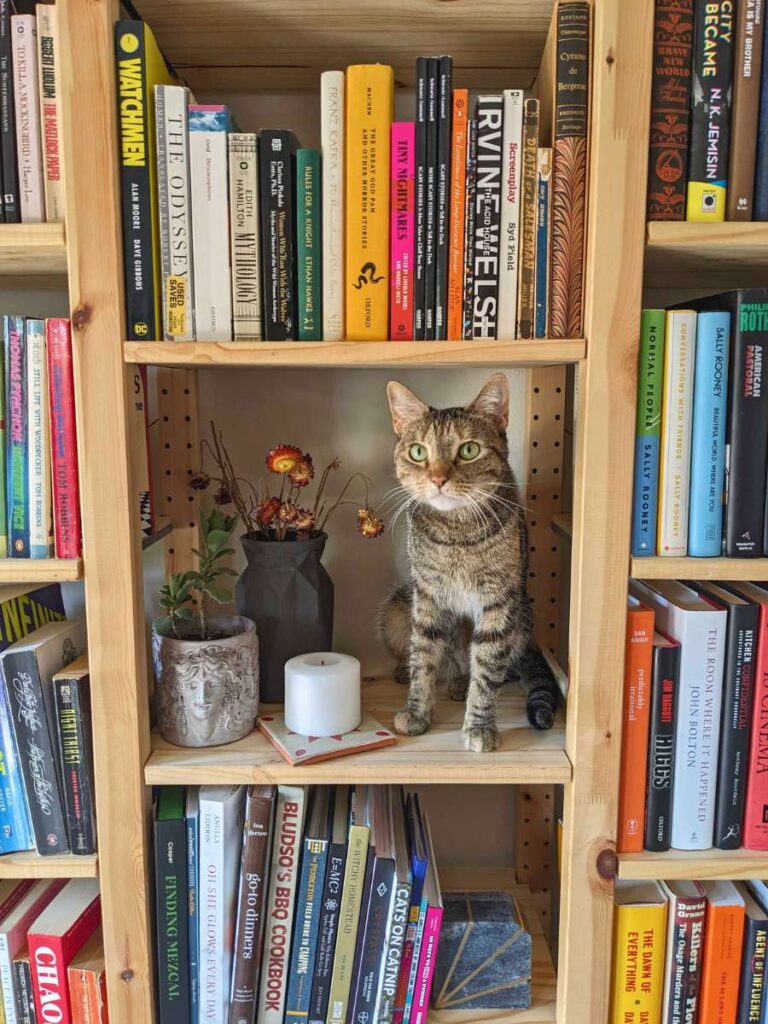
Time to style! Display your new terracotta painted vase as a table centerpiece, on a bookshelf, or anywhere else you’d like to add a pop of color or texture. Add dried flowers or foliage to increase height and dimension.
My kitty, Cleo, joined in for the photoshoot.
That’s it! I was pleasantly surprised at how easy it was to turn run-of-the-mill glass vases into modern faux ceramics. I’m all about creating a high-end feel at a budget price point! The possibilities of this creative technique are truly endless. If you’re anything like me, after the first batch you’ll be hunting through your house looking for more surfaces on which to try this technique!
Have fun and experiment with different paint colors and brush textures to create beautiful, unique custom pieces that fit your personal style and home aesthetic. They make great gifts, too!


This is a great way to epicycle those glass vases no one seems to use! They look amazing as faux ceramic. Thanks for sharing!
Everyone has a collection of those glass vases stuffed in a cabinet, time to put ’em to use! Thanks, Jill.
Can’t wait to try this! Thanks for such a thorough outline.
Might be my DIY holiday gift this season. ✨
These would make a fabulous holiday gift! So many ways to customize for each lucky recipient too – color, shapes, texture, dried florals. Thanks for the love, Christina!